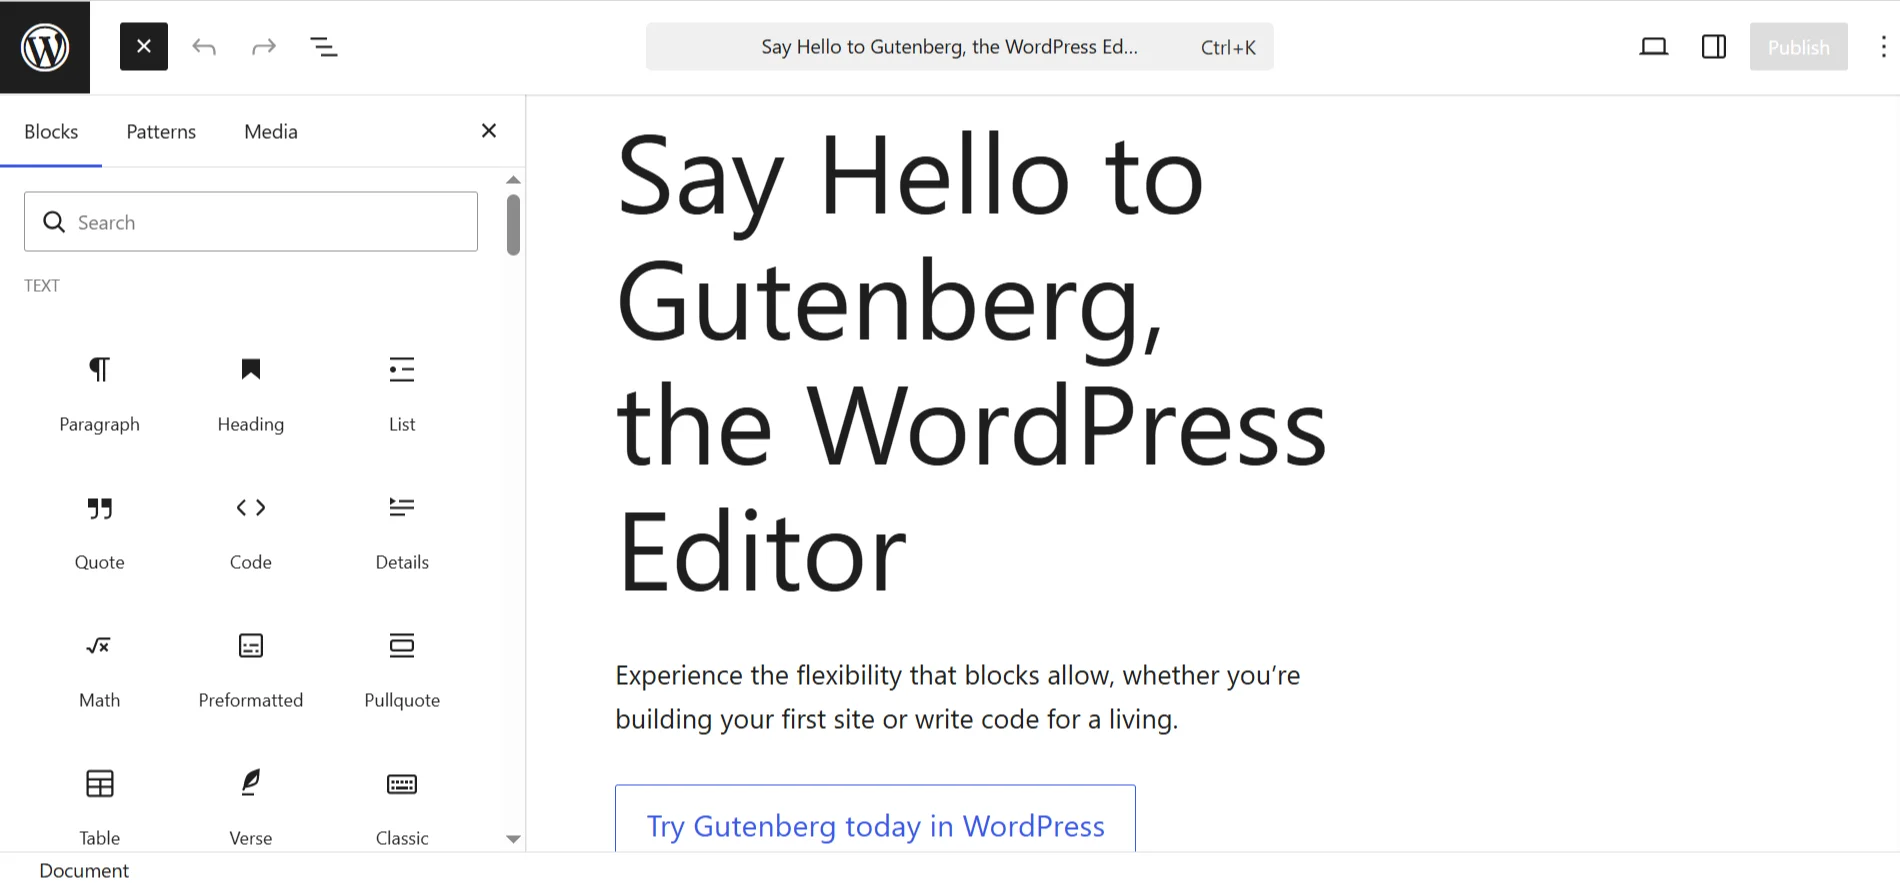
The WordPress block editor (Gutenberg) transformed how websites are built. Instead of rigid layouts or shortcodes, Gutenberg gives developers a component-based system powered by React. This makes content modular, maintainable, and scalable, perfect for businesses that need flexibility and brand consistency.
At Arhpez Technologies, we use Gutenberg extensively across our WordPress development services to build tailored block systems that empower clients to manage dynamic, pixel-perfect pages without touching code. This guide explains how to create custom Gutenberg blocks from scratch, including setup, configuration, coding, and deployment.
1. Setting Up the Environment
Before building your first block, ensure your development stack is ready:
Requirements
- WordPress 5.8+
- Node.js (v16 or newer) and npm
- A local development environment (LocalWP, XAMPP, or Docker)
- A custom plugin folder for block registration
Directory structure example:
wp-content/
└── plugins/
    └── my-custom-block/
        ├── build/
        ├── src/
        │   ├── index.js
        │   ├── edit.js
        │   ├── save.js
        │   └── style.scss
        ├── block.json
        ├── my-custom-block.php
        └── package.json
2. Initialize a Custom Block Plugin
In your plugin root, create a PHP file named my-custom-block.php:
<?php
/**
 * Plugin Name: My Custom Gutenberg Block
 * Description: A simple custom block built with React.
 * Version: 1.0
 * Author: Arhpez Technologies
 */

function arhpez_register_block() {
    register_block_type( __DIR__ );
}
add_action( 'init', 'arhpez_register_block' );
This ensures WordPress loads your block definition from block.json (the modern way to register blocks since WP 5.8).
3. Define Metadata in block.json
The block.json file provides the structure WordPress needs to register and display your block automatically.
{
  "apiVersion": 2,
  "name": "arhpez/custom-block",
  "title": "Arhpez Custom Block",
  "category": "widgets",
  "icon": "smiley",
  "description": "A simple example block for demonstration.",
  "supports": {
    "html": false
  },
  "editorScript": "file:./build/index.js",
  "style": "file:./build/style.css",
  "attributes": {
    "content": {
      "type": "string",
      "source": "html",
      "selector": "p"
    },
    "color": {
      "type": "string",
      "default": "#333333"
    }
  }
}
This file automatically connects JavaScript and CSS with the block, removing the need for manual wp_register_script() or wp_enqueue_style() calls.
4. Initialize the JavaScript Environment
Run this command inside your plugin folder:
npx @wordpress/create-block arhpez-custom-blockThis scaffolds a full environment with webpack, Babel, and React preconfigured for WordPress.
If you prefer manual setup, install the required dependencies:
npm install @wordpress/scripts --save-devThen add this to package.json:
"scripts": {
  "build": "wp-scripts build",
  "start": "wp-scripts start"
}
Run:
npm startThis will compile your React code automatically and hot-reload changes.
5. Write the Block Logic (React + JSX)
Open src/edit.js and define how the block appears inside the WordPress editor:
import { useBlockProps, RichText, ColorPalette } from '@wordpress/block-editor';
import { PanelBody } from '@wordpress/components';
import { InspectorControls } from '@wordpress/block-editor';
import { __ } from '@wordpress/i18n';

export default function Edit({ attributes, setAttributes }) {
  const { content, color } = attributes;

  const blockProps = useBlockProps({
    style: { color },
  });

  return (
    <>
      <InspectorControls>
        <PanelBody title={__('Text Settings', 'arhpez')}>
          <ColorPalette
            value={color}
            onChange={(newColor) => setAttributes({ color: newColor })}
          />
        </PanelBody>
      </InspectorControls>
      <div {...blockProps}>
        <RichText
          tagName="p"
          value={content}
          onChange={(newContent) => setAttributes({ content: newContent })}
          placeholder={__('Type your text...', 'arhpez')}
        />
      </div>
    </>
  );
}
This code defines a RichText field editable inside Gutenberg, with a color selector in the sidebar.
6. Define the Save Function
The save.js file determines what is stored in the database and rendered on the front end:
import { useBlockProps, RichText } from '@wordpress/block-editor';

export default function save({ attributes }) {
  const { content, color } = attributes;

  const blockProps = useBlockProps.save({
    style: { color },
  });

  return (
    <div {...blockProps}>
      <RichText.Content tagName="p" value={content} />
    </div>
  );
}
Now, when users add this block to a page, it stores styled HTML safely in the post content.
7. Enqueue Styles (Optional)
You can customize the editor and frontend styles using SCSS or CSS modules:
.wp-block-arhpez-custom-block {
  padding: 1rem;
  border: 2px solid #ccc;
  border-radius: 5px;
}
Webpack automatically compiles this when you run npm run build.
8. Add Dynamic Rendering (Optional)
If you want your block to render dynamic content (e.g., pulling data from the database or an API), define a PHP render callback instead of saving static HTML.
Update your PHP registration:
function arhpez_register_dynamic_block() {
    register_block_type( __DIR__, array(
        'render_callback' => 'arhpez_render_custom_block'
    ));
}
add_action( 'init', 'arhpez_register_dynamic_block' );

function arhpez_render_custom_block( $attributes ) {
    $content = esc_html( $attributes['content'] ?? '' );
    $color   = esc_attr( $attributes['color'] ?? '#333333' );
    return "<div style='color:{$color};'><p>{$content}</p></div>";
}
This ensures your block can handle server-side data dynamically, making it ideal for post listings, testimonials, or product feeds.
9. Testing and Debugging
Use these developer tools to verify your custom Gutenberg blocks:
Block Editor Handbook → Official WordPress docs for API references.
Developer Tools → Console → Inspect Gutenberg’s React component hierarchy.
wp.data → Interact with WordPress data stores in the browser console.
npm run lint-js → Check for syntax or style issues before deployment.
10. Deployment and Maintenance
After building and testing your block:
- Run npm run build to generate minified production files.
- Zip the plugin folder and upload it to your WordPress installation.
- Activate it via Plugins → Installed Plugins.
- Test on both classic and block themes (like Twenty Twenty-Four).
Maintain your block by keeping dependencies updated and following WordPress’s JavaScript and PHP coding standards.
Best Practices for Custom Gutenberg Blocks
- Use React Hooks: Simplify state management with useState and useEffect.
- Use block.json consistently: Avoid legacy registerBlockType() registration in PHP.
- Internationalize strings: Always wrap text in the __() function for translation.
- Avoid inline styles for scalability: Use CSS variables or theme.json for design consistency.
- Keep assets lightweight: Minimize external dependencies to improve load times.
Final Thoughts
Custom Gutenberg blocks let you deliver flexible, high-performance WordPress experiences that feel native, not bolted-on. They allow teams to create structured layouts without depending on external builders, reducing bloat and improving SEO.
At Arhpez Technologies, our WordPress development services include designing custom Gutenberg systems, reusable design libraries, and performance-optimized codebases tailored for modern business websites. We help brands scale content management while keeping full creative control.
Frequently Asked Questions
What are Gutenberg blocks in WordPress?
They are modular components used to build content visually in WordPress’s block editor, introduced in WordPress 5.0. Each block handles a specific element, such as text, images, or dynamic data.
What language is used to build Gutenberg blocks?
Gutenberg uses React (JavaScript) for the editor and PHP for server-side rendering, combining front-end interactivity with WordPress’s backend stability.
Can custom Gutenberg blocks improve SEO?
Yes. Custom blocks generate clean, semantic HTML without shortcodes, improving crawlability and site performance, which both support SEO.
Are Gutenberg blocks compatible with all themes?
They are compatible with any block-based theme and most classic themes, provided the theme supports add_theme_support(‘editor-styles’).